Ariens 921040 - Platinum 30 SHO Specifications
Browse online or download Specifications for Snow throwers Ariens 921040 - Platinum 30 SHO. Ariens 921040 - Platinum 30 SHO Specifications [en] User Manual
- Page / 40
- Table of contents
- TROUBLESHOOTING
- BOOKMARKS
- Platinum Series 1
- Sno-Thro 1
- TABLE OF CONTENTS 2
- INTRODUCTION 2
- UNAUTHORIZED REPLACEMENT 3
- DISCLAIMER 3
- DELIVERY 3
- 1. DANGER! 5
- 2. DANGER! 5
- 3. DANGER! 5
- EMISSION CONTROL SYSTEM 6
- ASSEMBLY 9
- PACKAGE CONTENTS 9
- Unfold Lower Handlebar 10
- Control and Chute Rod 11
- Remote Deflector Control 14
- Install Skid Shoes 14
- (Models 921029, 040) 14
- CONTROLS AND FEATURES 16
- OPERATION 17
- FILLING FUEL TANK 19
- GASOLINE 19
- Manual Start 21
- Electric Start (120V) 21
- Shut Off 21
- SNOW REMOVAL 21
- Tips for Operation 22
- TRAVELING 22
- TRANSPORT 22
- MAINTENANCE 23
- SCHEDULE 23
- GENERAL LUBRICATION 25
- SERVICE AND ADJUSTMENTS 26
- DISCHARGE CHUTE 27
- SPEED SELECTOR ADJUSTMENT 27
- ATTACHMENT CLUTCH/BRAKE 28
- ADJUSTMENT 28
- Remove Attachment Cable Slack 28
- Clearance 29
- Check Attachment Brake 29
- TRACTION DRIVE CLUTCH 30
- TRACTION DRIVE BELT 31
- REPLACEMENT 31
- FRICTION DISC REPLACEMENT 32
- FUEL SYSTEM 33
- TROUBLESHOOTING 34
- SERVICE PARTS 35
- ACCESSORIES 35
- SPECIFICATIONS 36
- , Sno-Tek 37
- Chore Performing Equipment 37
- Limited Warranty 37
- Sno-Chore 2013EN - 38 38
- Exceptions and Limitations 38
- Customer Responsibilities 38
Summary of Contents
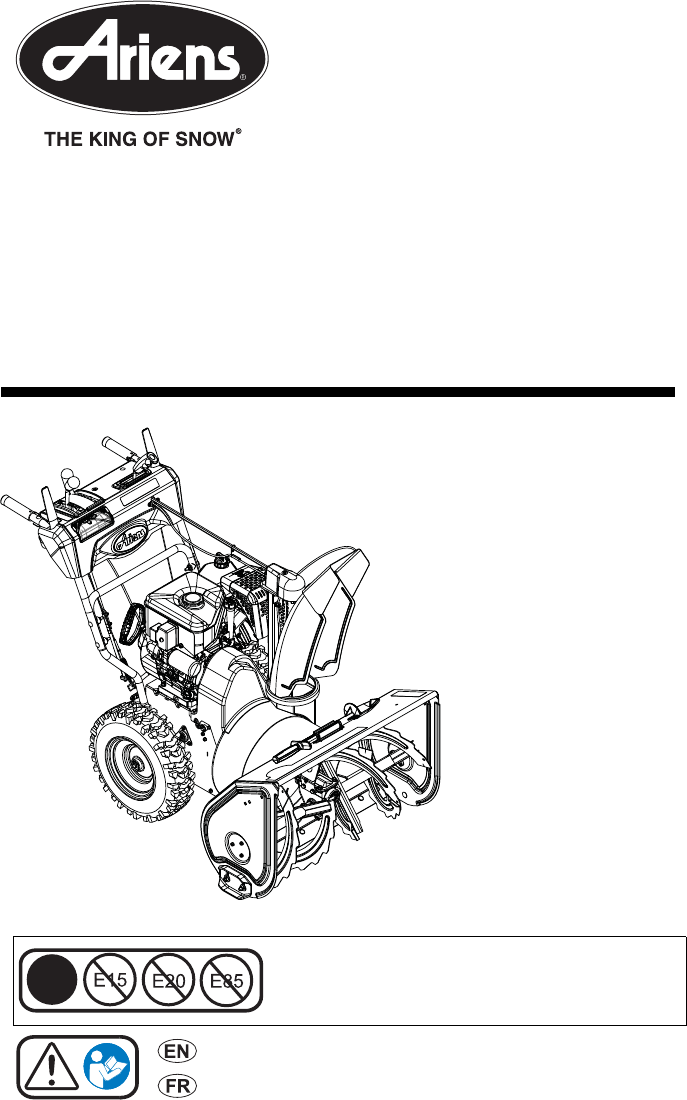
Owner/Operator Manual Manuel du Propriétaire/UtilisateurPlatinum SeriesSno-Thro04754100A • 6/14Printed in USAENGLISHFRANÇAISE10The use of any gasoline
EN - 10Unfold Lower Handlebar (Figure 4)IMPORTANT: Be sure to block wheels or secure unit so it does not move during assembly.1. Rotate lower handleba
EN - 11Unfold Upper Handlebar Assembly(Figure 7)1. Rotate the handlebar into operating position.NOTICE: Be careful not to damage cable spring hooks wh
EN - 125. Remove the gear cover from top of chute pedestal. (Figure 12).6. Release the lock arm on the gear assembly with your finger and rotate the d
EN - 13NOTICE: To ensure discharge chute follows full range of travel, control lever must be centered in slot and pointing straight up before installi
EN - 1418. Orient the chute and pedestal to its most vertical position and tighten pedestal hardware to 15 – 31 lbf-ft (20 – 42 N•m).19. Pull back chu
EN - 15Check Function of Dual Handle InterlockWithout the engine running, press down (engage) both clutch levers. Release attachment clutch lever. Att
EN - 161. Skid Shoe2. Clean-Out Tool3. Remote Discharge Chute Deflector4. Belt Cover5. Headlight6. Discharge Chute7. Impeller8. Quick Turn Chute Contr
EN - 17CONTROLS AND FEATURESSee Figure 16 for all Controls and Features locations.Dual Handle Interlock When Attachment Clutch and then Traction Drive
EN - 18Choke Control Knob1. Choke Closed position: chokes off air to engine for easier start.2. Choke Open position: allows for normal operation.IMPOR
EN - 19IMPORTANT: DO NOT force frozen chute controls. If frozen, take to warm place until controls are free.Heated Hand GripsTurn the heated handles s
EN - 2SAFETY. . . . . . . . . . . . . . . . . . . . . . . . . . 4ASSEMBLY . . . . . . . . . . . . . . . . . . . . . . . 9CONTROLS and FEATURES . . . .
EN - 20IMPORTANT: DO NOT OVERFILL! This equipment and/or its engine may include evaporative emissions control system components, required to meet EPA
EN - 21NOTICE: Try out each control without the engine running to see how it works and what it does.Manual Start1. Turn discharge chute straight ahead
EN - 22Tips for OperationSnow is best removed as soon as possible after snow fall.To clear an area, run unit in an overlapping series of paths. For la
EN - 23Ariens Dealers will provide any service or adjustments which may be required to keep your unit operating at peak efficiency. Should engine serv
EN - 24CHECK CLUTCH OPERATIONAuger / impeller must stop within 5 seconds when attachment clutch lever is released.Wheels must stop quickly when tracti
EN - 25GENERAL LUBRICATIONIMPORTANT: Wipe each fitting clean before and after lubrication. IMPORTANT: DO NOT allow grease or oil to get on friction di
EN - 26SCRAPER BLADEIMPORTANT: Damage to housing will result if blade wears down too far. Scraper blade is adjustable to compensate for wear.To adjust
EN - 27If deflector does not follow full range of travel:1. Push deflector remote forward.2. Loosen adjusting nuts on cable support bracket on side of
EN - 285. Secure adjustment pivot pin with hairpin.6. Make sure the speed selector shifts into each speed position.7. Check forward and reverse speeds
EN - 29Check Attachment Idler Arm Roller Clearance(Figure 30)1. Place the unit into the service position. Remove the bottom cover.2. With the attachme
EN - 3UNAUTHORIZED REPLACEMENT PARTSUse only Ariens replacement parts. The replacement of any part on this vehicle with anything other than an Ariens
EN - 302. If there is less than 1/16" (1.6 mm) gap between brake pad and belts, loosen idler adjustment nut and move idler away from belt. Positi
EN - 3111. Remove hex bolts securing housing to frame (two on each side). Tip housing and frame apart on pivot pin (Figure 33).12. Remove attachment d
EN - 323. Remove swing gate spacer and slide drive plate over so that finger clears stop hole in frame and can swing past it (Figure 35).NOTICE: The d
EN - 3315. Install left bearing using hardware removed in step 7.16. Reinstall clip pin into hex shaft.17. Connect pivot pin to speed selector arm (se
EN - 34 TROUBLESHOOTINGPROBLEM PROBABLE CAUSE CORRECTION Engine will not crank/start.1. Fuel tank is empty.2. Fuel shut-off valve closed.3. Build up o
EN - 35 SERVICE PARTSOrder the following parts through your Dealer:Part No. Description00036800 Ariens Hi-Temp Grease (3.3 oz cartridges)00592900 Fuel
EN - 36SPECIFICATIONSModel Number921029 921038 921040DescriptionPlatinum 30 Platinum 24 SHOPlatinum 30 SHOEngineEngine Ariens AXGross Torque* – lbf-ft
Sno-Chore 2013EN - 37Sno-Thro®, Sno-Tek® and Chore Performing Equipment Limited WarrantyAriens Company (Ariens) warrants to the original purchaser tha
Sno-Chore 2013EN - 38Exceptions and LimitationsThe chart below details special exceptions to this warranty:Customer ResponsibilitiesRegister the produ
Sno-Chore 2013EN - 39Exclusions – Items Not Covered by This Warranty• Parts that are not genuine Ariens, Gravely, Parker or Countax service parts are
EN - 4SAFETY ALERTSLook for these symbols to point out important safety precautions. They mean:Attention! Personal Safety Is Involved!Become Alert!
Ariens655 West Ryan StreetBrillion, WI 54110920-756-4688Fax 920-756-2407www.ariens.comwww.ariens.com.au
EN - 5 1. DANGER!Danger!ONLY use clean-out tool to clear blockages. NEVER use your hands.Never direct discharge towards persons or property that may b
EN - 6EMISSION CONTROL SYSTEMThis equipment and/or its engine may include exhaust and evaporative emissions control system components required to meet
EN - 7Read, understand, and follow all instructions in the manual and on the machine before starting.Understand:• How to operate all controls.• The fu
EN - 8If fuel is spilled on clothing, change clothing immediately.Properly remove fuel before tipping unit up onto housing, so no spills will occur. S
EN - 9ASSEMBLYTools Required•Pliers• Open-End Wrenches: 3/8, 7/16, 1/2, 9/16" and/or Adjustable Wrench• Tire Gauge• Torque Wrench (Optional)• Phi
Related products and manuals for Snow throwers Ariens 921040 - Platinum 30 SHO
 (65 pages)
 (34 pages)
 (28 pages)
 (36 pages)
(35 pages)
(36 pages)
(36 pages)
(35 pages)
(36 pages)
 (24 pages) (42 pages)
(13 pages)
(24 pages) (42 pages)
(13 pages)
© 2020, manymanuals.com. All rights reserved. | 2.542 s |
 Manymanuals.com
 Manymanuals.de
 Manymanuals.fr
 Manymanuals.it
 Manymanuals.pl
 Manymanuals.cz
 Manymanuals.es
 Manymanuals-pt.com
Comments to this Manuals