Ariens 991039 - Zoom 2452 HD Specifications
Browse online or download Specifications for Lawnmowers Ariens 991039 - Zoom 2452 HD. Ariens 991039 - Zoom 2452 HD Specifications User Manual
- Page / 34
- Table of contents
- BOOKMARKS
- Owner/Operator Manual 1
- TABLE OF CONTENTS 2
- INTRODUCTION 2
- PRODUCT REGISTRATION 3
- UNAUTHORIZED REPLACEMENT 3
- DISCLAIMER 3
- DEALER DELIVERY 3
- 1. DANGER! TO AVOID SERIOUS 5
- INJURY OR DEATH 5
- 2. DANGER! ROTATING PARTS 5
- 3. WARNING! 6
- 4. HOT SURFACES! 6
- 5. ROTATING PARTS 6
- 6. DANGER! 6
- SAFETY RULES 6
- ASSEMBLY 9
- CONTROLS AND FEATURES 11
- OPERATION 12
- FILLING FUEL TANK 14
- PRE-START 14
- STOPPING IN AN EMERGENCY 14
- STARTING AND SHUT OFF 14
- TO MOW WITH UNIT 14
- ENGINE OFF 15
- MOVING THE UNIT WITH THE 15
- MAINTENANCE SCHEDULE 16
- SERVICE AND ADJUSTMENTS 17
- HYDRAULIC FLUID 18
- MOWER BLADES 19
- Sharpen the Mower Blades 20
- Remove Battery 21
- Replace Battery 21
- Clean Battery 21
- Charging the Battery 21
- Battery Electrolyte First Aid 21
- LUBRICATE UNIT 22
- STEERING CONTROL NEUTRAL 22
- ADJUSTMENT 22
- ADJUSTING THE UNIT TO TRACK 23
- STRAIGHT 23
- Check Adjustment 24
- Adjust the Parking Brake 24
- PTO Belt Access 25
- Replacing Mower Belts 25
- Replacing the Hydro Pump Belt 25
- MOWER DECKS 26
- Leveling the Mower Deck 27
- Check Blade Level and Pitch 27
- SHORT TERM 28
- LONG TERM 28
- ACCESSORIES 29
- SERVICE PARTS 29
- SPECIFICATIONS 30
- Ariens Limited 31
- Warranties 31
- LIMITATION OF REMEDY AND 32
- DISCLAIMER OF FURTHER 32
- WARRANTY 32
Summary of Contents
Owner/Operator ManualModels991039 – Zoom 2452 HD991040 – Zoom 2660 HDZOOM HD03253300A 11/07Printed in USAENGLISH
GB - 107. Check Engine Crankcase - Check and add oil if needed. See Engine Manual for specifications.8. Fill Engine Fuel Tank - Add clean fuel to the
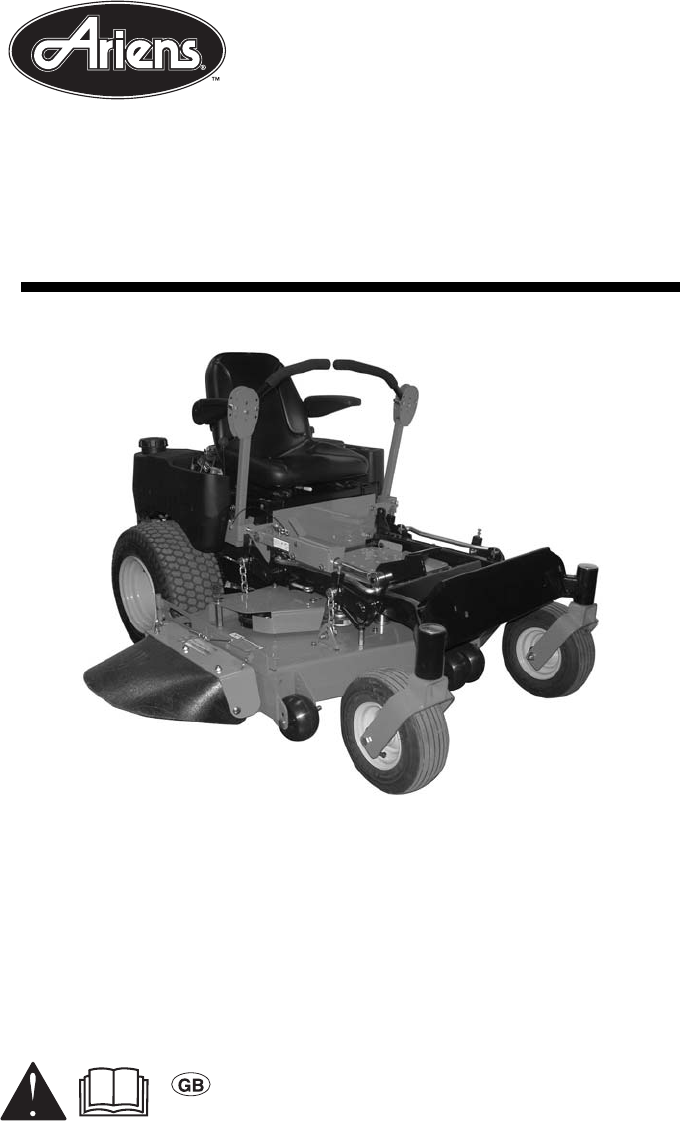
GB - 111. Fuel Tanks and Caps2. Steering Levers3. Hydraulic Oil Reservoir4. Ignition Switch5. Hour Meter6.Throttle Lever7. Choke Control8. Power Take
GB - 12CONTROLS AND FEATURESSee Figure 4 for Controls and Features locations.Safety Interlock SystemPerform the following tests to ensure the safety i
GB - 13Choke ControlPush the choke lever forward to start a cold engine. Pull the choke lever to the rear when the engine gets warm.Throttle Lever The
GB - 14Hour MeterRecords total number of hours the engine has been run.IMPORTANT: Keep a record of Hour Meter readings for recommended Lubrication and
GB - 153. Bring the steering levers to neutral. 4. Slow the engine down to about 3/4 speed. 5. Turn ON the PTO switch to engage the mower. IMPORTANT:
GB - 16FOR BEST PERFORMANCECut grass when it is dry.Keep mower blades sharp.Keep mower deck properly levelled.Adjust anti-scalp rollers to prevent sca
GB - 17Ariens Dealers will provide any service which may be required to keep your unit operating at peak efficiency. Should engine service be required
GB - 18HYDRAULIC FLUIDCheck Hydraulic Fluid LevelCheck the system with the unit cold and parked on a flat, level surface. Then run the unit for about
GB - 195. Spin new oil filter onto filter housing until it makes contact. Tighten oil filter another 3/4 turn.6. Install the filter guards removed in
GB - 2Safety . . . . . . . . . . . . . . . . . . . . . . . . . . . 4Assembly . . . . . . . . . . . . . . . . . . . . . . . . 9Controls and Features .
GB - 20Sharpen the Mower Blades1. Remove mower blade from unit.Discard mower blade if:• More than 1/2 in. (1.27 cm) of metal is removed.• Air lifts be
GB - 21BATTERYUnit comes equipped with a maintenance-free battery that requires no regular maintenance except cleaning the terminals.Remove Battery1.
GB - 222. Place battery on bench or other well-ventilated place.3. Connect positive (+) lead of charger to positive (+) terminal, and negative (–) lea
GB - 23Aligning the Steering Levers (Figure 14)1. Shut OFF engine. Engage parking brake. Remove the ignition key. 2. Place seat in the service positio
GB - 24ADJUSTING THE HEIGHT OF THE STEERING LEVER HANDLESThe handles have three height positions (Figure 16). 1. Shut OFF engine. Engage parking brake
GB - 25PTO Belt Access1. Properly stop and park unit (See Operation on page 12).2. Lower the mower.3. Place seat in most rearward position.4. Remove b
GB - 265. Install new hydro pump belt by positioning belt on sheaves. Put belt onto right hand hydrostat sheave last.6. Replace long mower belt on mow
GB - 274. Remove the mower mounting pins connecting the mower mounting arms to the deck.5. Slide mower deck out from under unit.Installing the Mower D
GB - 28Adjust Blade HeightLevel and pitch the mower with the height adjusters on each deck lift bracket (Figure 24).Loosen the jam nut on the deck lif
GB - 29When storing unit for extended periods of time, remove all fuel from tank and carburetor (run dry). Refer to Engine Manual.Clean and charge the
GB - 3• Record Unit Model and Serial numbers here.• Record Engine Model and Serial numbers here.PRODUCT REGISTRATIONThe Ariens dealer must register th
GB - 30SPECIFICATIONSModel Number 991039 991040Model Zoom 2452HD Zoom 2660HDEngineEngine Briggs & Stratton ELSEngine Model NumberEngine Power –
Ariens Company • 655 W. Ryan St. • Brillion, WI 54110-1072• (920) 756-2141 • www.ariens.comALW2-62905Ariens Limited Warranties2-Year Limited Lawn and
Ariens Company • 655 W. Ryan St. • Brillion, WI 54110-1072• (920) 756-2141 • www.ariens.comALW2-62905Exceptions, Limitations, ExclusionsThese warranti
The engine exhaust from this productcontains chemicals known to the Stateof California to cause cancer, birthdefects or other reproductive harm.WARNIN
GB - 4SAFETY ALERT SYMBOLThese are safety alert symbols. They mean: •ATTENTION! •YOUR SAFETY IS INVOLVED! When you see this symbol:•BECOME ALERT! •OB
GB - 51. DANGER! TO AVOID SERIOUS INJURY OR DEATHRead Owner/Operator Manual.Keep children and others away from unit while operating.Never direct disch
GB - 6NO STEP! Always keep feet away from rotating parts.3. WARNING! Do not operate mower unless guards are in operating position or bagger is attache
GB - 7Always wear safety goggles or safety glasses with side shields when operating mower.Moving parts can cut or amputate fingers or a hand. Wrap bla
GB - 8Always wear a seat belt when operating unit using a Rollover Protection System (ROPS). Keep all movements on the slope slow and gradual. Do not
GB - 9NEVER attempt to make any adjustments to unit while engine is running (except where specifically recommended). Stop engine, remove key or spark
More documents for Lawnmowers Ariens 991039 - Zoom 2452 HD


Related products and manuals for Lawnmowers Ariens 991039 - Zoom 2452 HD
 (17 pages)
 (32 pages) (7 pages)
© 2020, manymanuals.com. All rights reserved. | 0.708 s |
 Manymanuals.com
 Manymanuals.de
 Manymanuals.fr
 Manymanuals.it
 Manymanuals.pl
 Manymanuals.cz
 Manymanuals.es
 Manymanuals-pt.com
Comments to this Manuals